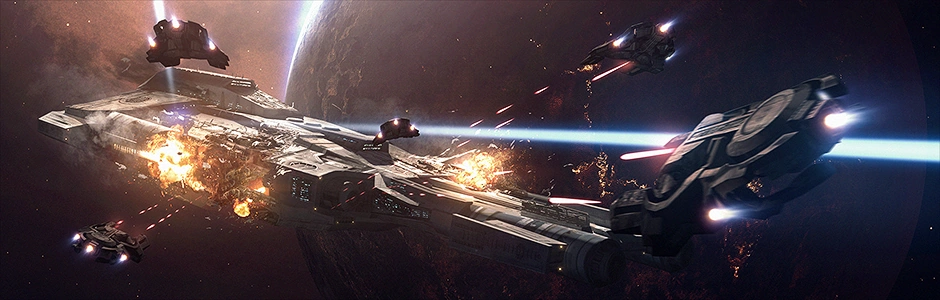
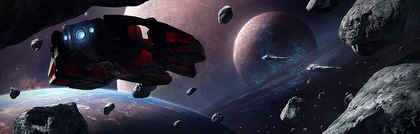
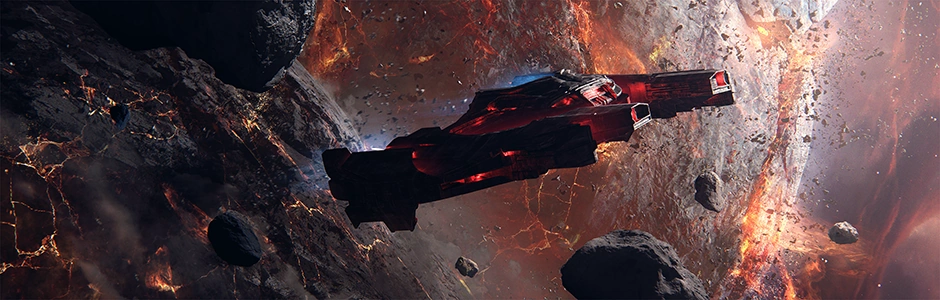
Cerberus ships are hostile, NPC-controlled ships that serve as the primary non-player enemy ships throughout the game. They can be found while revealing sectors in your home Yellow Star, but are more commonly found stationed in White Stars, Blue Stars; they and are the main enemy in Red Star Missions.
Most Cerberus ships only become activated when a player-controlled ship enters their sector. Only the Phoenix reacts to player movement outside of its assigned sector, and the only ship capable of firing beyond its home sector is the Bomber. No Cerberus units aside from the Interceptor, Destroyer, and Ghosts ever leave their assigned sector. Of these, only the Ghosts actively pursue player ships.
All Cerberus entities save for Cerberus Stations spawn in Red Stars and Blue Stars. In Yellow Stars, Sentinels, Guardians, Colossus, and all three base types spawn.
DPS is an acronym for Damage Per Second. DPS values are used to estimate damage output.
AU stands for Arbitrary Unit; the measure of AU does not refer to the standard Astronomical Unit used by astronomers.
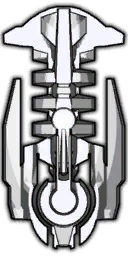
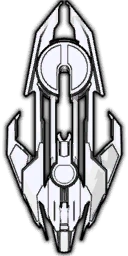
Sentinel[]
"Sentinels have weak hulls but are equipped with a very powerful Battery. They pose little threat individually, but are deadly in large numbers or when covered behind stronger Cerberus ships."
Sentinels are the first type of Cerberus ships new players will encounter. They will always stay in their home sector. When strategically positioned behind other Cerberus ships, multiple Sentinels are especially dangerous to Battleships mounting single-target weapons like Battery or Laser. Their high damage output makes them very good at quickly overwhelming Battleships not properly equipped to deal with multiple targets. In RS6 or higher, Rockets, Dual Laser or Mass Battery can help deal with large swarms of Sentinels.
The Cerberus Phoenix, encountered in RS8 and above, spawns 3 Sentinels when destroyed -- a nasty parting gift for the attacking player.
Speed Stats:
| Yellow Star | Red Star | Blue Star | White Star | |
|---|---|---|---|---|
| Max Speed | 15 AU/s | 13 AU/s | 10 AU/s | 39 AU/hr |
Enemy Stats:
| Weapon | Hull Strength | DPS | WS DPH |
|---|---|---|---|
 |
600 | 200 | 1,200 |
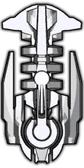
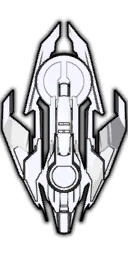
Guardian[]


"A strong ship that Cerberus often use to provide cover for Sentinels. Guardians always stay within their assigned sector."
Guardians are designed to tank incoming damage for Sentinels. They are much stronger than Sentinels in terms of hull strength; however, they mount a much weaker battery. The battery mounted by Guardians is commonly referred to as the "Guardian battery." It is shown in-game as a normal battery, but it deals less damage than the Weak Battery.
A single Guardian is not a problem, but when there are Sentinels hiding behind them, the situation can quickly turn deadly. Guardians are well suited to taking hits for Sentinels; this allows the Sentinels to put their damage output to use, quickly dispatching the health of the player’s Battleships. Maneuver strategically or attack with multi-target weapons to clear out any Sentinels first.
The Guardian piloting AI vectors the ship in front of Sentinels regardless of position; use this to your advantage: a staggered two-pronged attack is usually very effective -- Guardians react much faster than Sentinels, allowing you to maneuver behind tanky Guardian waves.
Speed Stats:
| Yellow Star | Red Star | Blue Star | White Star | |
|---|---|---|---|---|
| Max Speed | 17 AU/s | 14 AU/s | 11 AU/s | 43 AU/hr |
Enemy Stats:
| Weapon | Hull Strength | DPS | WS DPH |
|---|---|---|---|
| |
5,600 | 50 | 300 |
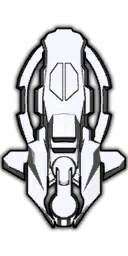
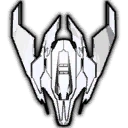
Interceptor[]

"A fast and powerful Cerberus ship that can simultaneously fire against multiple player ships. Lethal against non-combat ships, which must be kept at a safe distance from Interceptors. Interceptors randomly patrol strategic locations in the star system and can move between multiple sectors."
First encountered in RS4, the Interceptor is a dangerous ship that behaves differently from every other previously introduced class of Cerberus craft; its engagement tactics and rules are quite eccentric when compared to Guardians or Sentinels.
An Interceptor is equipped with a Mass Battery, which allows it to simultaneously fire at up to 4 targets: this makes it difficult to target with rockets or projectile weapons like the DART launcher or Rocket Drones. A player can have at most three Battleships, therefore the Interceptor will almost always be able to spare a battery to target your auxiliary ships. It is recommended to bring suppression modules like EMP or Barrier to help deal with interceptor attacks.
The Interceptor also travels significantly faster than any player ships, including the Battleship. Most importantly, an Interceptor does not stay within its assigned sector: it will routinely patrol strategically important locations in the system, most often the highest-levelled planet sectors. Though it will not specifically pursue player ships, the Interceptor's behavior makes it incredibly effective at destroying non-combat ships, even if they are being guarded by Battleships; the only way to incapacitate an Interceptor is to destroy it.
Speed Stats:
| Yellow Star | Red Star | Blue Star | White Star | |
|---|---|---|---|---|
| Max Speed | 39 AU/s | 33 AU/s | 26 AU/s | 101 AU/hr |
Enemy Stats:
| Weapon | Hull Strength | DPS | WS DPH |
|---|---|---|---|
  |
4,500 | 90 | 540 |
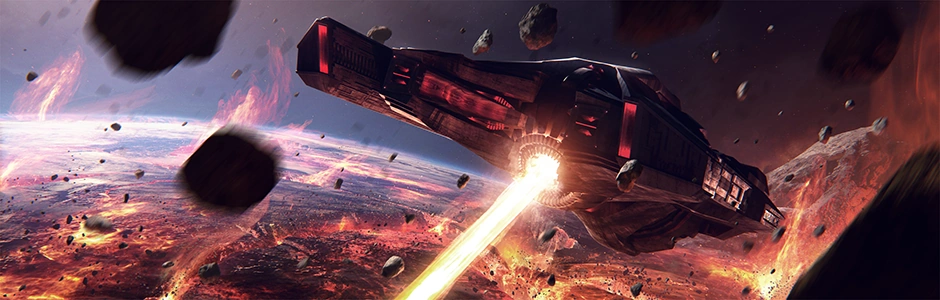
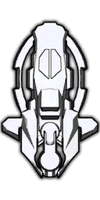
Colossus[]


"A massive Cerberus ship that requires a lot of firepower and coordination to bring down."
It slow, strong and deadly.
First encountered in Red Star 5, the Cerberus Colossus can be an intimidating new opponent, especially to players with only two Battleships or lower-leveled modules. While similar to the Guardian in its behavior, the Colossus is notably more dangerous than the Guardian in two respects -- significantly better survivability, and greatly increased damage potential.
While its Laser damage output may not seem too dangerous at first, the Colossus' Laser can become deadly to player ships as it quickly ramps up, dealing up to 500 DPS to a single target if allowed to charge fully. Thus, it is recommended to cycle the targeted ship in and out of the Colossus' range to force its laser to switch targets and reset, to minimize damage recieved by individual ships.
The Salvage module also means you shouldn't let the Colossus destroy one of your ships, otherwise it'll recover a large portion of its health.
A powerful single-target weapon like Laser or Battery is an excellent choice for peeling down the Hull of a Colossus. Other modules such as Decoy Drone, EMP, and Fortify can temporarily interrupt the laser or force the Colossus to change targets. It is also recommended to equip at least one Battleship with a multi-target weapon: multiple Sentinels and Guardians typically spawn in conjunction with the Colossus.
Having a more experienced Corporation member come with you is a great way to defeat these ships and learn some tactics. A single Colossus is tough but is no match against 6 or more Battleships in close formation.
Speed Stats:
| Yellow Star | Red Star | Blue Star | White Star | |
|---|---|---|---|---|
| Max Speed | 18 AU/s | 15 AU/s | 12 AU/s | 47 AU/hr |
| Ramp-Up Interval | 10s | 10s | 20s | 1h40m |
Weapon Stats:
| Weapon | Hull Strength | Damage Per Second | ||
|---|---|---|---|---|
| ■ | ■■ | ■■■ | ||
  |
15,000 | [ = 50] [ = 60] | 150 | 500 |
Destroyer[]

"These mysterious Cerberus ships are known to jump in Red Stars and destroy entire planets with their powerful beams. They do not directly fire on your ships."
Destroyers always jump into the system from within the same sector of the Red Star itself. Starting from RS6, they will jump into the system within the first minute and plot a course for a planet immediately. They inflict area damage upon destroying a planet or being destroyed.
Destroyers do not have any direct fire weapons; it is completely safe for transports and miners to fly past them. However, in Dark Red Star Missions, Destroyers gain a Pulse weapon, making them significantly more dangerous.
Blast shield can be helpful for reducing damage recieved from the Destroyer's Vengeance detonation. EMP can also be used to temporarily stop the planet destruction process. It should also be noted that it is possible to destroy a Destroyer from outside the Vengeance blast radius, even with short-range weapons like Mass Battery and Laser.
Planet Destruction range: 100AU
Neutralized Vengeance Module damage range: 100AU
Enemy Stats
| Weapon | Hull Strength | Damage | Speed | Planet Destruction |
|---|---|---|---|---|
  |
8,000 | 2,000 | 11 AU/s | 3m |
Bomber[]


"A strong ship that regularly fires one rocket towards each participating player that has ships in the bomber's sector or any adjacient sectors. This ship will always stay within its assigned sector, but the rockets can be fired into adjacent sectors."
Introduced in RS7, the Cerberus Bomber is the first ship that creates strategic problems for the player by presenting a consistent area damage threat; it is advisable to eliminate Bombers whenever they cover sectors of interest to the player.
The Bomber is also the first "capital-type" ship encountered by new players; at 32,000 hull hitpoints, it is significantly more durable than any previously introduced Cerberus unit.
The Bomber will fire a rocket towards the players' nearest ship every 24 seconds. The rocket creates a large blast when it reaches it's target, or a smaller one at its current position if neutralized by a player. It is recommended to bring multi-target weapons like Mass Battery or Dual Laser to help neutralize incoming rockets. It should be noted that auxilliary ships will still take damage from the Bomber rockets' neutralized blasts, thus it is recommended to bring a blast shield or to keep your transports and miners at a distance until the threat is neutralized.
The Bomber's course-plotting AI tries to distance itself as much as possible from the player's ships while remaining in the same sector. These ships can create especially dangerous areas of overlapping fire if placed in adjacent sectors.
It is recommended to attack these ships with stun modules like EMP or Barrier in order to not only temporarily stun the rockets fired by these ships, but to keep them in your weapon range as well.
Neutralized rocket blast radius is 60 AU, impact blast radius is 120 AU.
Speed Stats
| Yellow Star | Red Star | Blue Star | White Star | |
|---|---|---|---|---|
| Max Speed | 12 AU/s | 10 AU/s | 8 AU/s | 31 AU/hr |
| Rocket Cooldown | 24s | 24s | 48s | 16h |
Enemy Stats
| Weapon | Hull Strength | Rocket Hull | Neutralized Damage | Damage | Rocket Speed |
|---|---|---|---|---|---|
  |
32,000 | 900 | 500 | 2,000 | 25 AU/s |
Phoenix[]


"The Phoenix protects nearby Cerberus ships with its Ally shield. Once destroyed, it will spawn a small number of sentinels."
Mounting a Dual Laser, a large Ally shield, and a massive 30,000 HP pool, the Phoenix is a truly intimidating enemy unit. It earns its namesake by spawning three Sentinels after being destroyed. Like the Bomber, it presents a significant strategic problem for players in addition to its formidable HP pool.
While the Phoenix will always patrol within its sector, its Ally shield is large enough to spill over into adjacent sectors. Because it attempts to cover the sector edge closest to the player, the Phoenix can complicate the clearing of adjacent sectors since the Ally shield will prevent damage to any Cerberus ship within its action radius.
While the Phoenix is already challenging to deal with, its Ally shield can be especially problematic in cases where it covers Bombers, Storms, or swarms of Sentinels -- even multi-target battleships may struggle against such combinations, as the Ally shield prevents any DART or Bomber rockets from being neutralized efficiently and can allow large groups of Sentinels and/or projectiles to continuously damage your Battleships. It is also inadvisable to attack with multiple battleships simultaneously, since the Phoenix mounts a Dual Laser that can switch targets without resetting its ramp-up unless one beam is inactive.
Forcing the Phoenix to change targets with Decoy drone does not reset the ramp-up. Conversely, attacking with a Solitude Battleship and a Repair Drone can be useful for recovering HP and reducing the effective DPS of the Dual Laser.
Damage negation and stun modules like Alpha Shield, EMP, Barrier, and Suspend can be useful in dealing with Phoenix groups. When attacking Phoenix sectors, it may be helpful to use Teleport -- Phoenixes maneuver to be as close as possible to player ships; combined with their slow movement speed, a well-placed Teleport attack may allow enough time for a Battleship to destroy any dangerous supporting Cerberus. In some cases, particularly higher level Red Stars, it may be desirable to use blast damage modules like Destiny or Vengeance in combination with an Alpha shield to exploit the Ally shield's weakness to area damage and quickly neutralize large numbers of non-capital Cerberus ships. Despite its short action time, Alpha shield is particularly useful in Dark Red Star missions, helping mitigate damage from massive barrages of projectiles covered by the Ally shield.
Note that the shield does not cover the deploying Phoenix, making it possible to destroy the Phoenix without disabling its shield. It should also be noted that the Phoenix will sometimes delay the deployment of its shield by up to 30 seconds, giving the player a short window to slip in and destroy other Cerberus units first.
Speed Stats:
|
Yellow Star |
Red Star | Blue Star | White Star | |
|---|---|---|---|---|
| Max Speed | 14 AU/s | 11 AU/s | 9 AU/s | 35 AU/h |
| Ramp-Up Interval | 15s | 15s | 15s | 2h30m |
Weapon Stats:
| Weapon | Hull Strength | Ally Shield | Damage Per Second | ||
|---|---|---|---|---|---|
| ■ | ■■ | ■■■ | |||
  |
30,000 | 20,000 | 120 | 300 | 450 |
Storm[]

"This ship always follows a circular path within its sector. It is equipped with a powerful long-range weapon that regularly launches fast DART missiles against all enemy ships in range."
While some players might dismiss the Storm as a less dangerous version of the Bomber, its better mobility, range, and much higher rate of fire can present a serious threat to players' battleships.
While the Bomber fires on ships based on their Sector position every twenty seconds, the Storm's DART Barrage is a more traditional attack radius-based weapon; albeit with much larger attack radius (200 AU). Every five seconds, the Storm's DART Barrage will fire a DART rocket against every enemy ship in range.
DART rockets do not deal blast damage; they deal direct weapon damage ONLY to the target they were launched at, even if other ships are in the AoE. Blast Shields do NOT absorb DART impacts.
Because of how quickly the Storm reloads its DARTs, it is often difficult to keep up with the incoming rockets while clearing a sector, even with multi-target weapons. The Storm almost never spawns by itself (typically in pairs) and is typically accompanied by a number of Cerberus ships; thus, it can be easy for even Mass Battery ships to get overwhelmed.
There is no single best strategy for dealing with Storms. Mass Battery and Dual Laser, when combined with Solitude, can be good for dealing with Storms. Stun modules like Barrier and EMP are useful for dealing with the incoming hail of DARTs. It may be desirable to equip one battleship with blast damage modules like Destiny and Vengeance for late-game planet clearing.
Speed Stats
| Red Star | Blue Star | White Star | |
|---|---|---|---|
| Max Speed | 60s/rotation | 60s/rotation | 10h/rotation |
| Dart CD | 5s | 5s | 50m |
Enemy Stats
| Weapon | Hull Strength | Rocket Hull | Damage | Damage | Dart Speed |
|---|---|---|---|---|---|
  |
18,000 | 250 | 800 | 1200 | 25 AU/s |
Ghost[]


"A group of fast ships that jump in unpredictably and move collectively to the nearest target, anywhere in the star system."
Ghosts spawn out of Cerberus Jump Gates that appear randomly on the map during the whole Red Star mission.
Cerberus Jump Gates cannot be targeted or used as a move target. After the appearance of a Gate, it will start a countdown of 45 seconds, release the Ghosts and then disappear afterwards.
|
Found In |
Spawn Delay | Ships Spawned | Max Spawn Radius | Speed | Hull Strength | DPS | Attack Range |
|---|---|---|---|---|---|---|---|
| RS 10+ | 40s | 15 | 90AU | 32AU/s | 200 | 140 | 120AU |
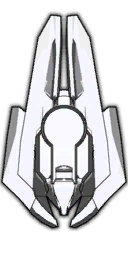
Hydra[]

"A massive, strong ship, equipped with a powerful Barrage that deals significantly more damage when there are more player ships in its sector. When it runs out of hitpoints, it will split into two smaller, weaker Hydras. The smaller versions will themselves turn into two tiny Hydras when destroyed."
The Hydra and Hydralings are equipped with a Barrage-like weapon. The presence of any Player Ships within its current sector significantly increases the damage dealt to its single target.
The Hydra only spawns in RS11, in planet sectors with level 11 planets. When destroyed, it spawns two poorer equipped Hydralings. Those Hydralings, when destroyed, spawn two more, even weaker Hydralings; all of the Hydralings are equipped with a similar (but weaker) Barrage-style weapon.
All Hydra variants have innate "EMP Resist" which reduces the duration of EMP on these ships by the percentage of "EMP Resist" (80%). Thus, EMP is not a particularly viable option against Hydras. The Solitude module is an excellent choice for both boosting your Battleships' DPS and minimizing the Hydra's barrage ramp-up. Multi-target weapons like Mass Battery and Dual Laser can be useful for dealing with the Hydralings that spawn afterwards, as well as other threats like Bomber rockets or Storm attacks from adjacent sectors.
Cerberus Hydra
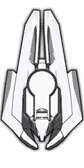
Cerberus Hydraling 2
Cerberus Hydraling 1
| Ship Name | Found
In |
Speed | Weapon | Hull | DPS | Range | Damage
Increase Per-target |
EMP
Resist |
|---|---|---|---|---|---|---|---|---|
| HYDRA | RS 11 | 25AU/s | HydraBarrage | 50,000 | 150 | 140AU | 1,000 | 80% |
| HYDRALING 1 | RS 11 | 25AU/s | HydraBarrage | 15,000 | 60 | 140AU | 600 | 80% |
| HYDRALING 2 | RS 11 | 25AU/s | HydraBarrage | 5000 | 40 | 140AU | 400 | 80% |
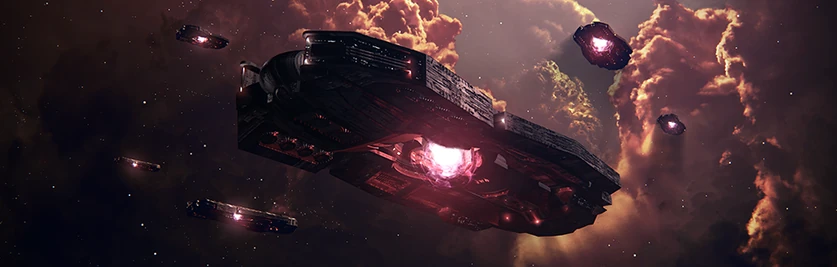
Cerberus Bases[]
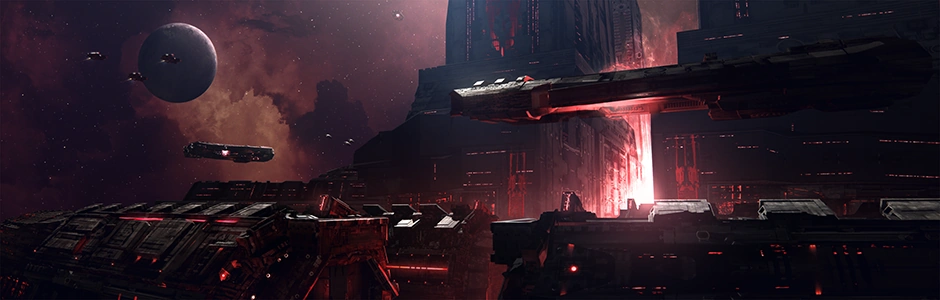


Cerberus Base from artist MONSONG
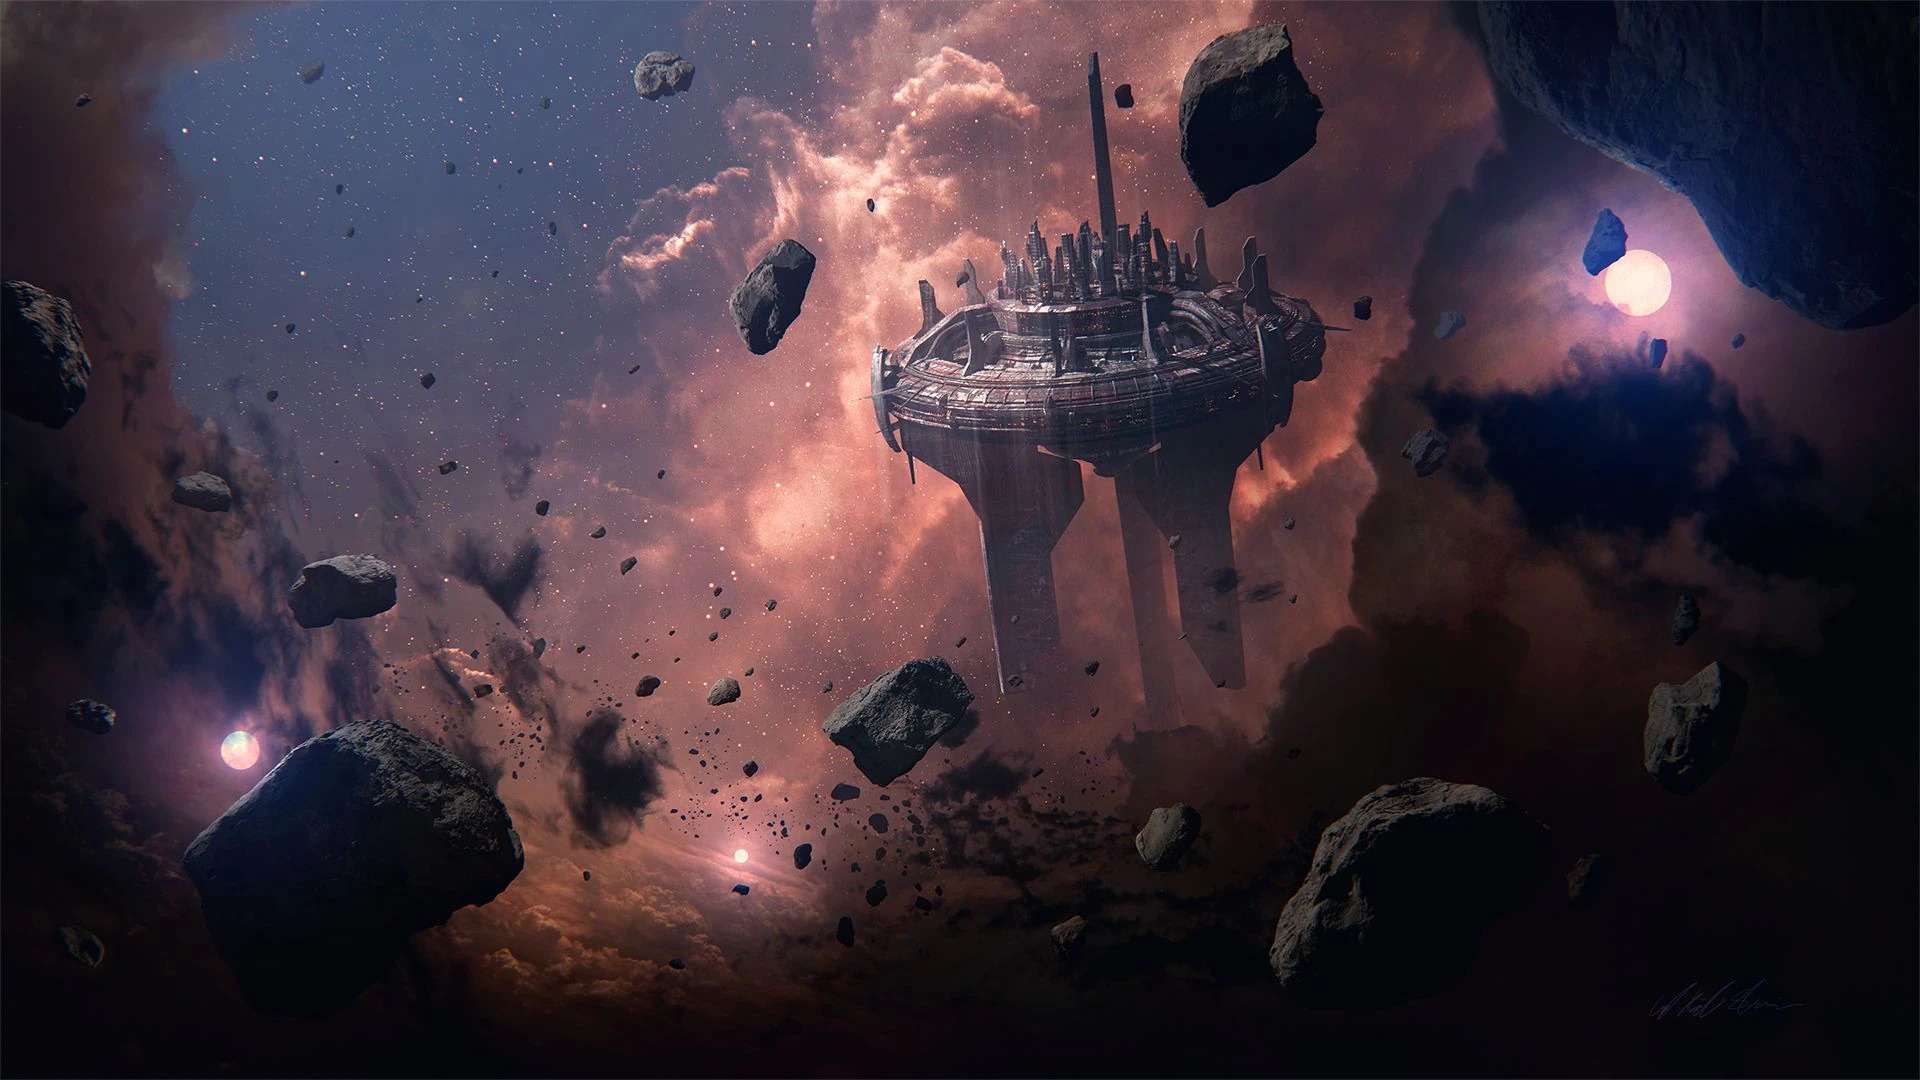
Cerberus base by GabrielBjorkStiern
Cerberus Bases are hostile, immobile units that can be found in new sectors in yellow stars. All Cerberus bases will continuously spawn and replenish one Cerberus Guardian daily. Do not attempt to approach a base before building a sizable combat fleet. Destroy the Weak Cerberus Bases using a fly-by tactic. If possible, position your Battleships, so they can target the Base with their weapons, but are still out of range. Alpha, Delta, and Blast shield modules are not effective shields to use when attacking Cerberus bases. Passive and Omega shield is the best idea, as they can soak up much more damage in a shorter span of time.
| Model | Attack Range | DPS | Hull Strength | Shield Strength | Shield Regen | Regeneration Delay | XP Reward | Max Fighters | |
|---|---|---|---|---|---|---|---|---|---|
| Weak Base |   |
100 AU | 100 | 15,000 | 15,000 | 10/m | 1h | 1,000 | 3 |
| Medium Base |   |
160 AU | 140 | 50,000 | 50,000 | 14/m | 1h | 3,000 | 5 |
| Strong Base |   |
240 AU | 200 | 90,000 | 90,000 | 20/m | 1h | 5,000 | 7 |
| Entities | ||
|---|---|---|
| Ships | Player | Transport • Miner • Battleship • Corporation Flagship |
| Cerberus | Sentinel • Guardian • Interceptor • Colossus • Destroyer • Bomber • Phoenix • Storm • Ghost • Hydra | |
| Projectiles | Alpha Rocket • Delta Rocket • Omega Rocket • Hydrogen Rocket • DART Missile • Bomber Rocket | |
| Drones | Shipment Drone • Relic Drone • Mining Drone • Alpha Drone | |
| Stationary | Cerberus Base • Remote Bomb • Floating Shield • DART Turret | |
46 Comments